Transform your Garage with Rust-Oleum RockSolid
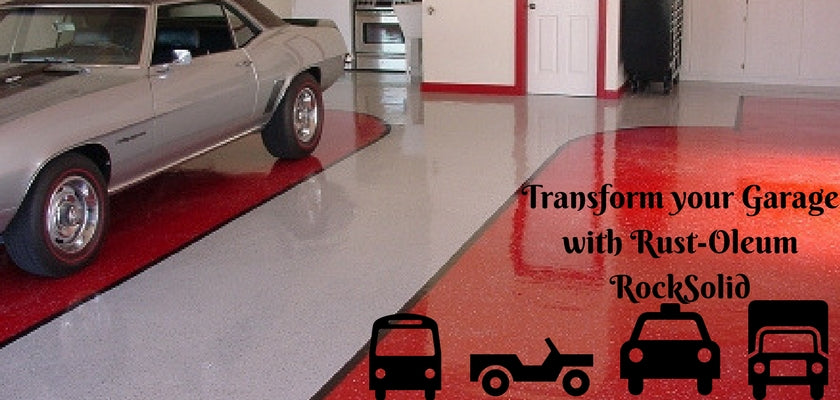
Transform your garage into a splendid new space with showroom-quality. Rust-Oleum RockSolid Floor Coating is 20x stronger, resistant to salt, oil, gas, and other harsh chemicals. This floor coating is ideal for upgrading any garage floors. This will last a lifetime while looking fantastic!
No need to hire a professional for this project. Rust-Oleum RockSolid for your garage is a dream product for DIYers. It offers you a professional look, for less money and in less time!
Things you’ll need:
- Broom
- Stiff Bristle Scrubbing Brush
- Large Squeegee
- Container
- Watering Can
- Hosepipe
- Scissors
- Painter’s Tape
- Chip Brush
- Drop Cloth
- Gloves
- Paint Roller Frame
- Paint Roller Extension Pole
- Drill
- Paint Mixer
- RockSolid Metallic Tint Floor Kit.
Before You Start: Read through all guidelines on your floor coating kit regarding proper floor preparation before you begin. A couple of things you may need to add sweeping, degreasing, and fixing your concrete floor. You will also need to utilise the concrete etch included in your kit to carve the floor before coating. Once your floor is clean, allow 24 hours for it to dry. It’s vital that your floor is completely moisture-free before you begin coating. See the guidelines included in your kit for more details on how to tell if your floor is dry enough.
Step - 1: Once your floor is clean, totally dry, and be prepared for coating, utilize high quality painter’s tape to tape off the walls of the garage. This will give you a perfect line when you apply the coating.

Step - 2: While you’re blending the coating, you’ll need to protect your garage floor from drips and spills with a drop cloth.

Step-3: Knead the floor coating pouch thoroughly to help in blending the product.

Step-4: Lay it flat on your drop cloth and move it from the Part A side toward the Part B side until the middle seal bursts.

Step-5: Energetically shake the pouch to blend both components. Shake up and down, and side to side for two to three minutes.

Step-6: Remove a corner of the pouch with scissors and pour the coating into your container.

Step-7: Open the metallic tint powder and pour it into the container as well.

Step-8: Utilizing a paint blender and drill, completely blend the tint into the garage floor coating. While you blend, use the stir stick included in your kit to periodically scrape the sides of the container. This will guarantee that the tint is equally distributed throughout the mixture.

Step-9: Utilize your chip brush to paint around the edge of the garage floor.

Step-10: Pour the coating directly onto the floor in a ribbon, about a foot from the back wall. The ribbon of coating should be 4 to 5 ft. long and 3 to 4 in. wide to cover your first section.

Step-11: Roll the garage floor coating onto the floor evenly until your 5 x 5 ft. section is totally covered. Some spots may show up somewhat see-through.

Now that the area is covered, utilize your roller to re-roll over the area, this time in a circular motion. These circular patterns will create a dynamic metallic impact in the floor.
Step-12:
Repeat this procedure, proceeding to work in 5 x 5 ft. sections until the garage floor is completely coated. Only open an additional kit after you’ve totally used up the coating from the previous.

Step-13:
Let the garage floor coating dry for eight to 10 hours before allowing foot traffic, and at least 24 hours before returning your car to the garage.

Tip: Once the product is mixed, the coating is initiated and needs to be applied within 45-60 minutes.

