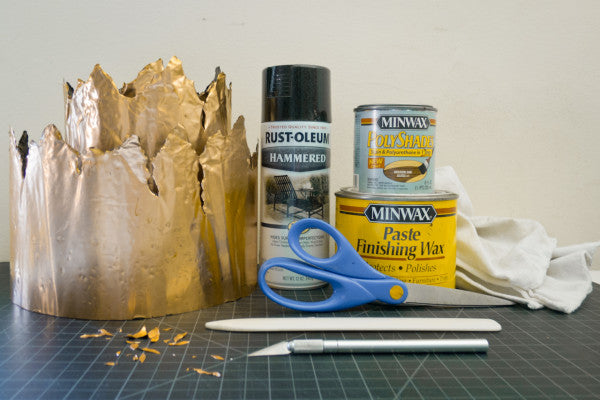
Home Made Sculptural Table Lamp

1st Step
First of all, unroll the copper sheet and flat it on the surface. Near around 1/3 of the sheet up the 12″ and start drawing parabola as seen in the images. Once the task is completed cut along this by using scissors. See the images below.


2nd Step
Underneath few of the deeper valley cut out narrow ellipses with the craft knife, and to create burn holes just push them back with bone folder.


Step 3rd
Now you need to paint the copper sheet. Use hammered textured spray paint or you may use antique copper spray paint to give an antique look. Apply multiple light coats instead of single thick coat and once the paint job is completed, allow it to dry properly.


4th Step
Now apply the finishing wax on painted side. To make it charred, rub away some of the paint. Dip the corner of rag in the wood stain and dab along the edges and around the holes to give the front edges a more burnt look. Wipe away any excess in upward strokes, and allow to dry.


Step 5th
Fold the edges of copper to hook them together. Fold one edge toward the back and another one toward the front. Standing the piece on its flat end, hook the edges together and flatten to secure.


6th Step
Roll the taller copper sheet and place that into the center of shorter copper sheet. See the below images.


Cut a small notch where you’d like the cord to exit, sit the lamp or cord set in the center of the piece, and light it up!


